A week ago, I was invited to have an adventurous opportunity to try out something new I have never ever thought about. The good thing is, it was planned at the place I love, so I decided to ahead with the challenge as I hoped that people out there would rescue me if something goes wrong!
It was the Bread baking event hosted by joesbloggers at Jamie Olivers Cookery School in Westfield with lovely people at Currys PC world and Hotpoint ovens!
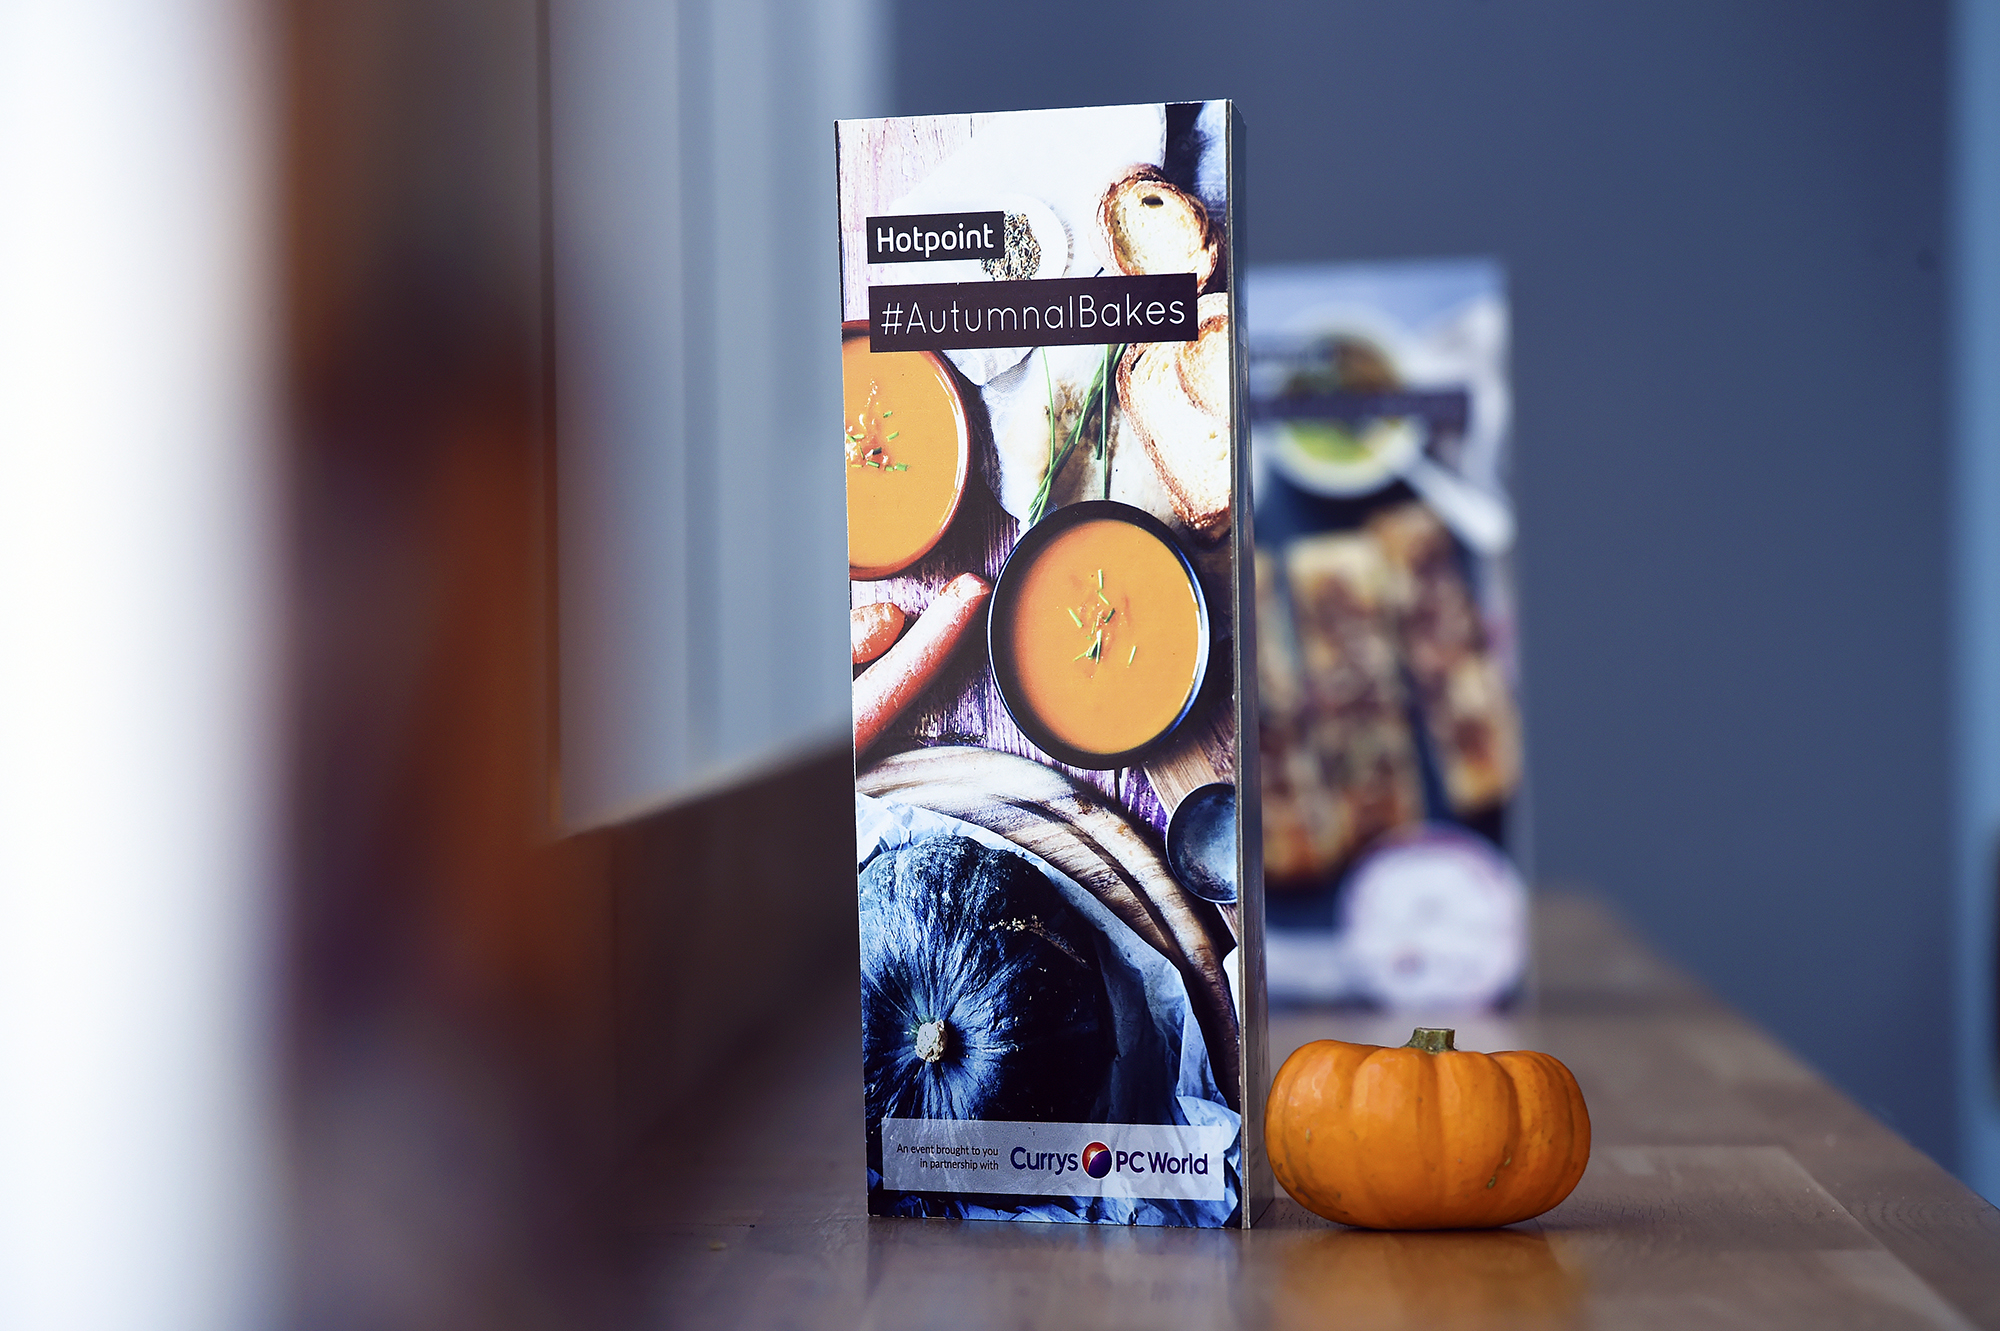
Get it!? Jamie Olivers kitchen, first time trying my hand on baking bread, the brand new Hotpoint oven that would look after your bread, so I was too excited to learn some tips and tricks from the session.
Unfortunately, I turned up a bit late to the event and missed out some of the very crucial and tips in bread making!!!! You will witness how important they are later in this post!
I am not a pro baker and never baked bread, we do baking at home just for fun and have never taken it seriously. It is just purely to keep the kids entertained and to bake some little treats for them. However, one of my friends has been talking about home baked bread for quite a while now and though we both wanted to try it, we never had the nerves to kick start it and this was the perfect opportunity to give it a go!

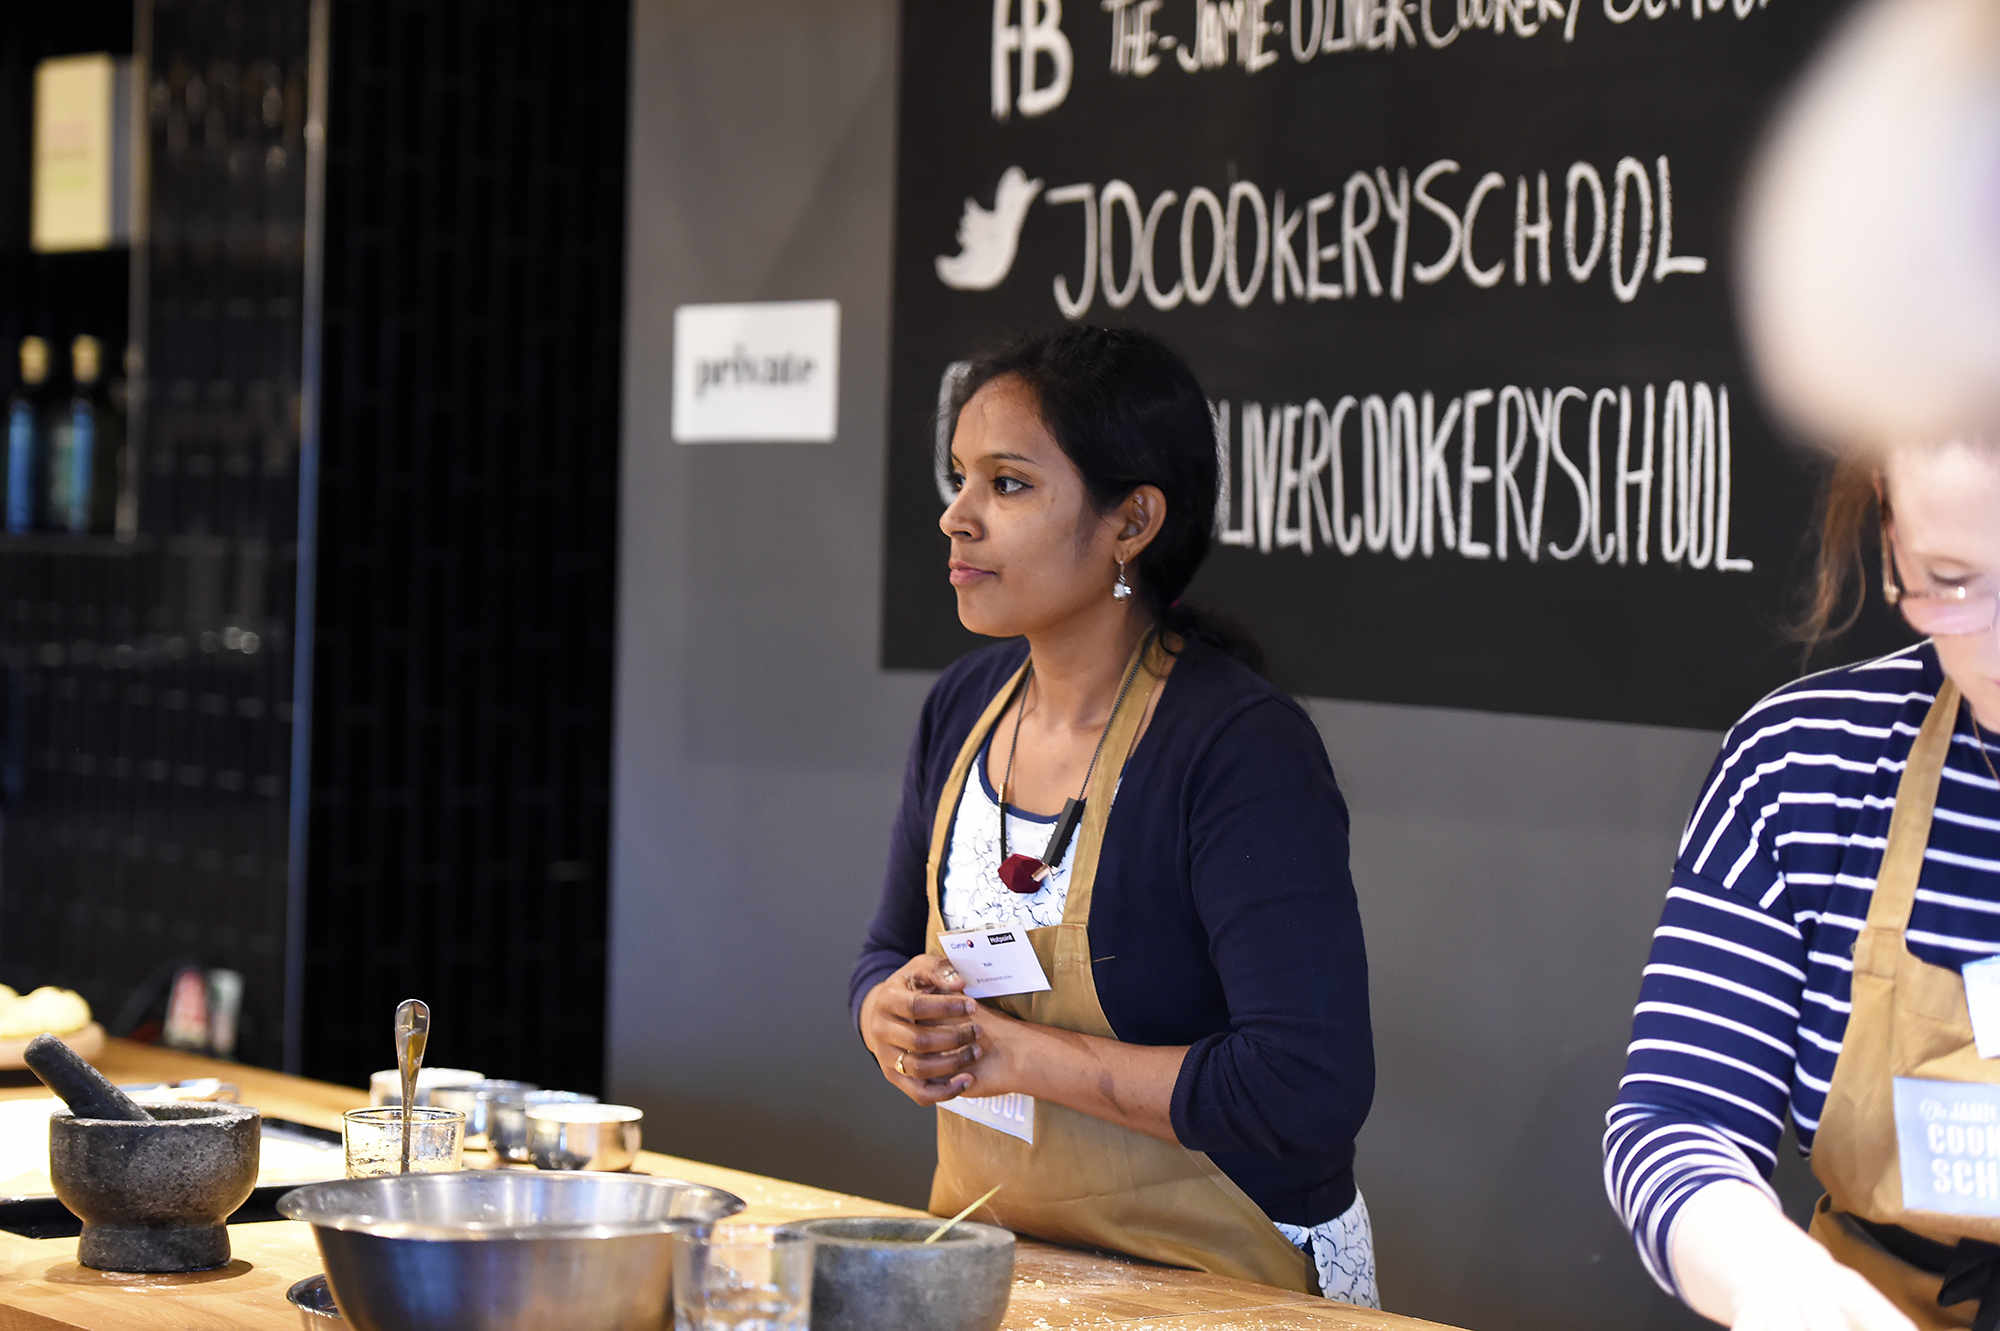
Measurement is always the key point I worry about in Baking , however fortunately, all the ingredients were pre-measured for us to start mixing!
We started off with the white bread loaf which was really simple and easy for beginners and decorated them with Pumpkin seeds to go with the Autumn theme.
Here is the recipe for making a simple white bread loaf -> you might find it handy in the cold winter days – Super fresh, homemade bread – A drive to the supermarket saved!
As the event was themed around Autumn (#AutumnalBakes) we used pumpkin seeds for decoration on our bread loaf. I tried out some quite different shapes as we were let go free of style
 and though it doesn’t turn out too bad, you need to be more careful to keep the pieces together.
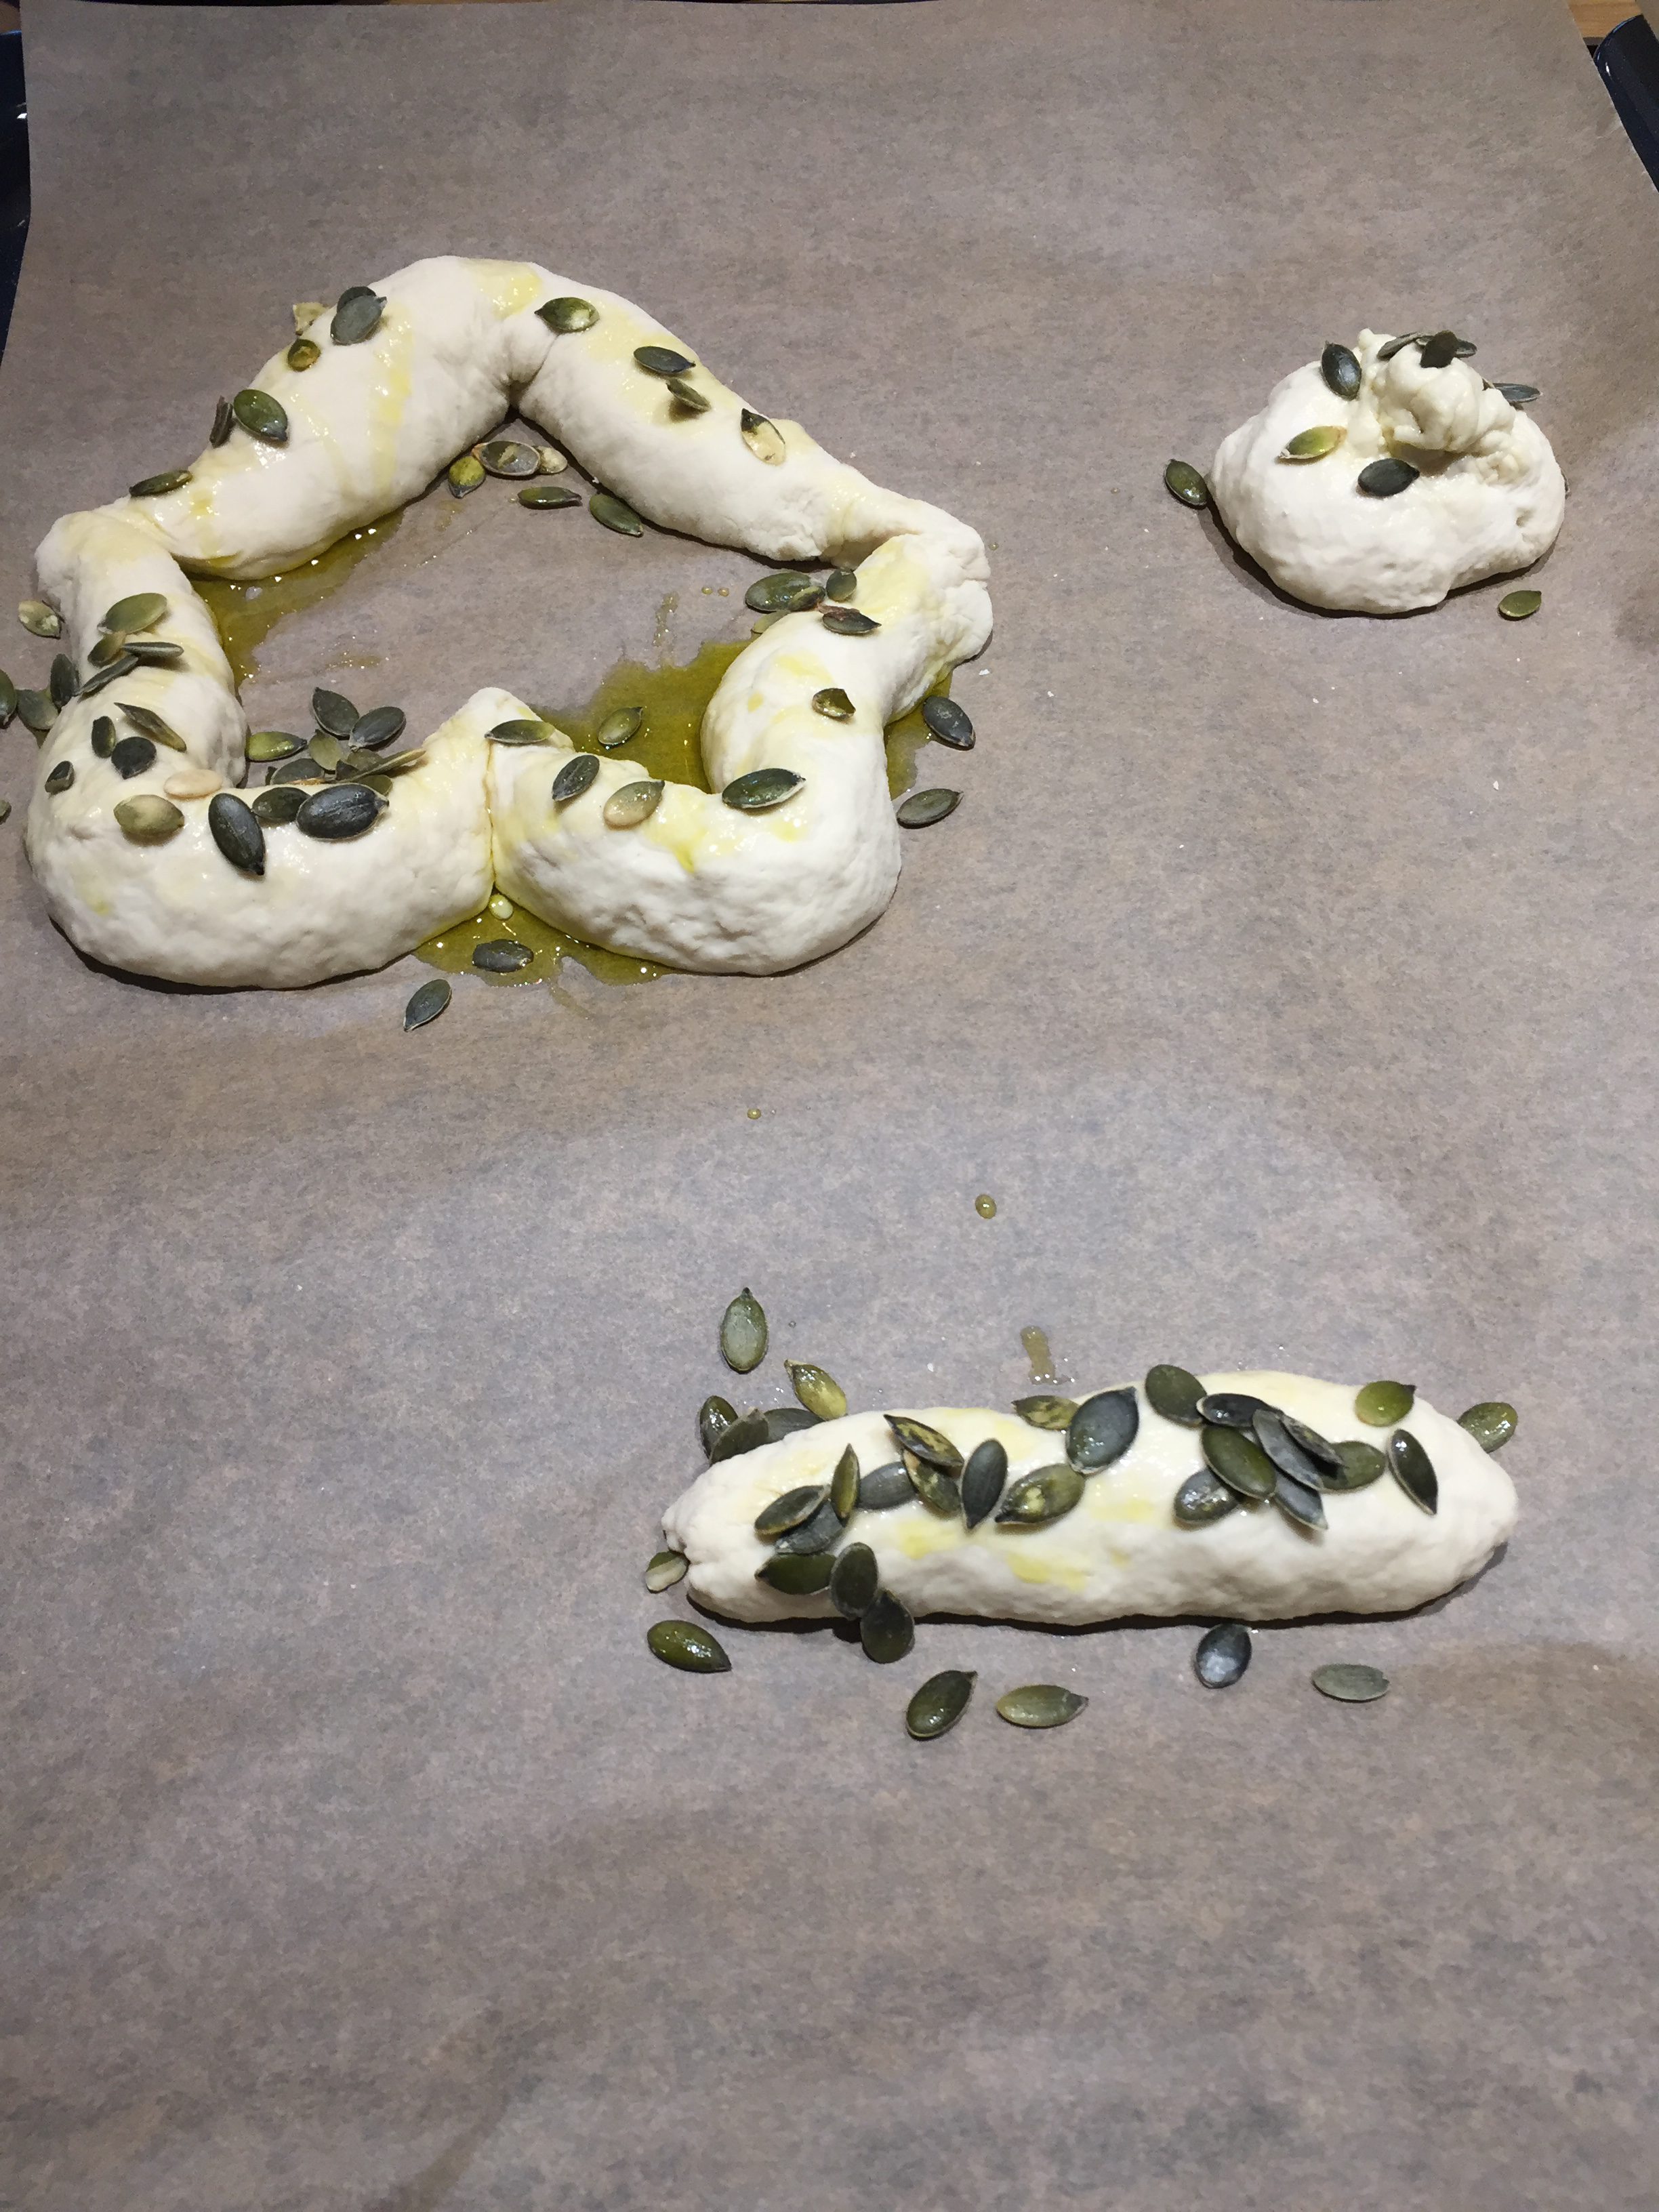
It then went into the Hotpoint oven for a wonderful baking cycle!
So… What’s so special about these new Hotpoint ovens!?
- Have you ever experienced uneven baking with your oven!?
- Do you have to hide those burnt portions with excess icing and hope no one notices it!?
- Have you been frustrated of throwing away your effort in the bin as the oven didn’t do what you expected it to do!?
Well, if you have ticked even one of the boxes above, you know it because of the uneven temperature circulated in the oven!, and that’s where the Hotpoint ovens come in for rescue…

The new Hotpoint ovens are designed with Multiflow heat technology and delivers an even temperature throughout your oven for thorough cooking results and ensures that you enjoy baking regardless of whether you are a beginner or a Pro.
Cleaning your oven is hassle free and takes a matter of minutes with the catalytic liners featured on all of the interior walls. Food residue and mess is burnt away while you’re cooking, so all you have to do is wipe away any ash with a damp cloth.
Here is the end result of my effort on baking white bread loaf! I beg you not to laugh too loud though! After all, it is my first attempt and I assure it didn’t make croissant but definitely baked bread!
Don’t judge the book by its cover!!!!! This was rather too tastier than it looked!!!! and proved that appearance is deceptive!!!
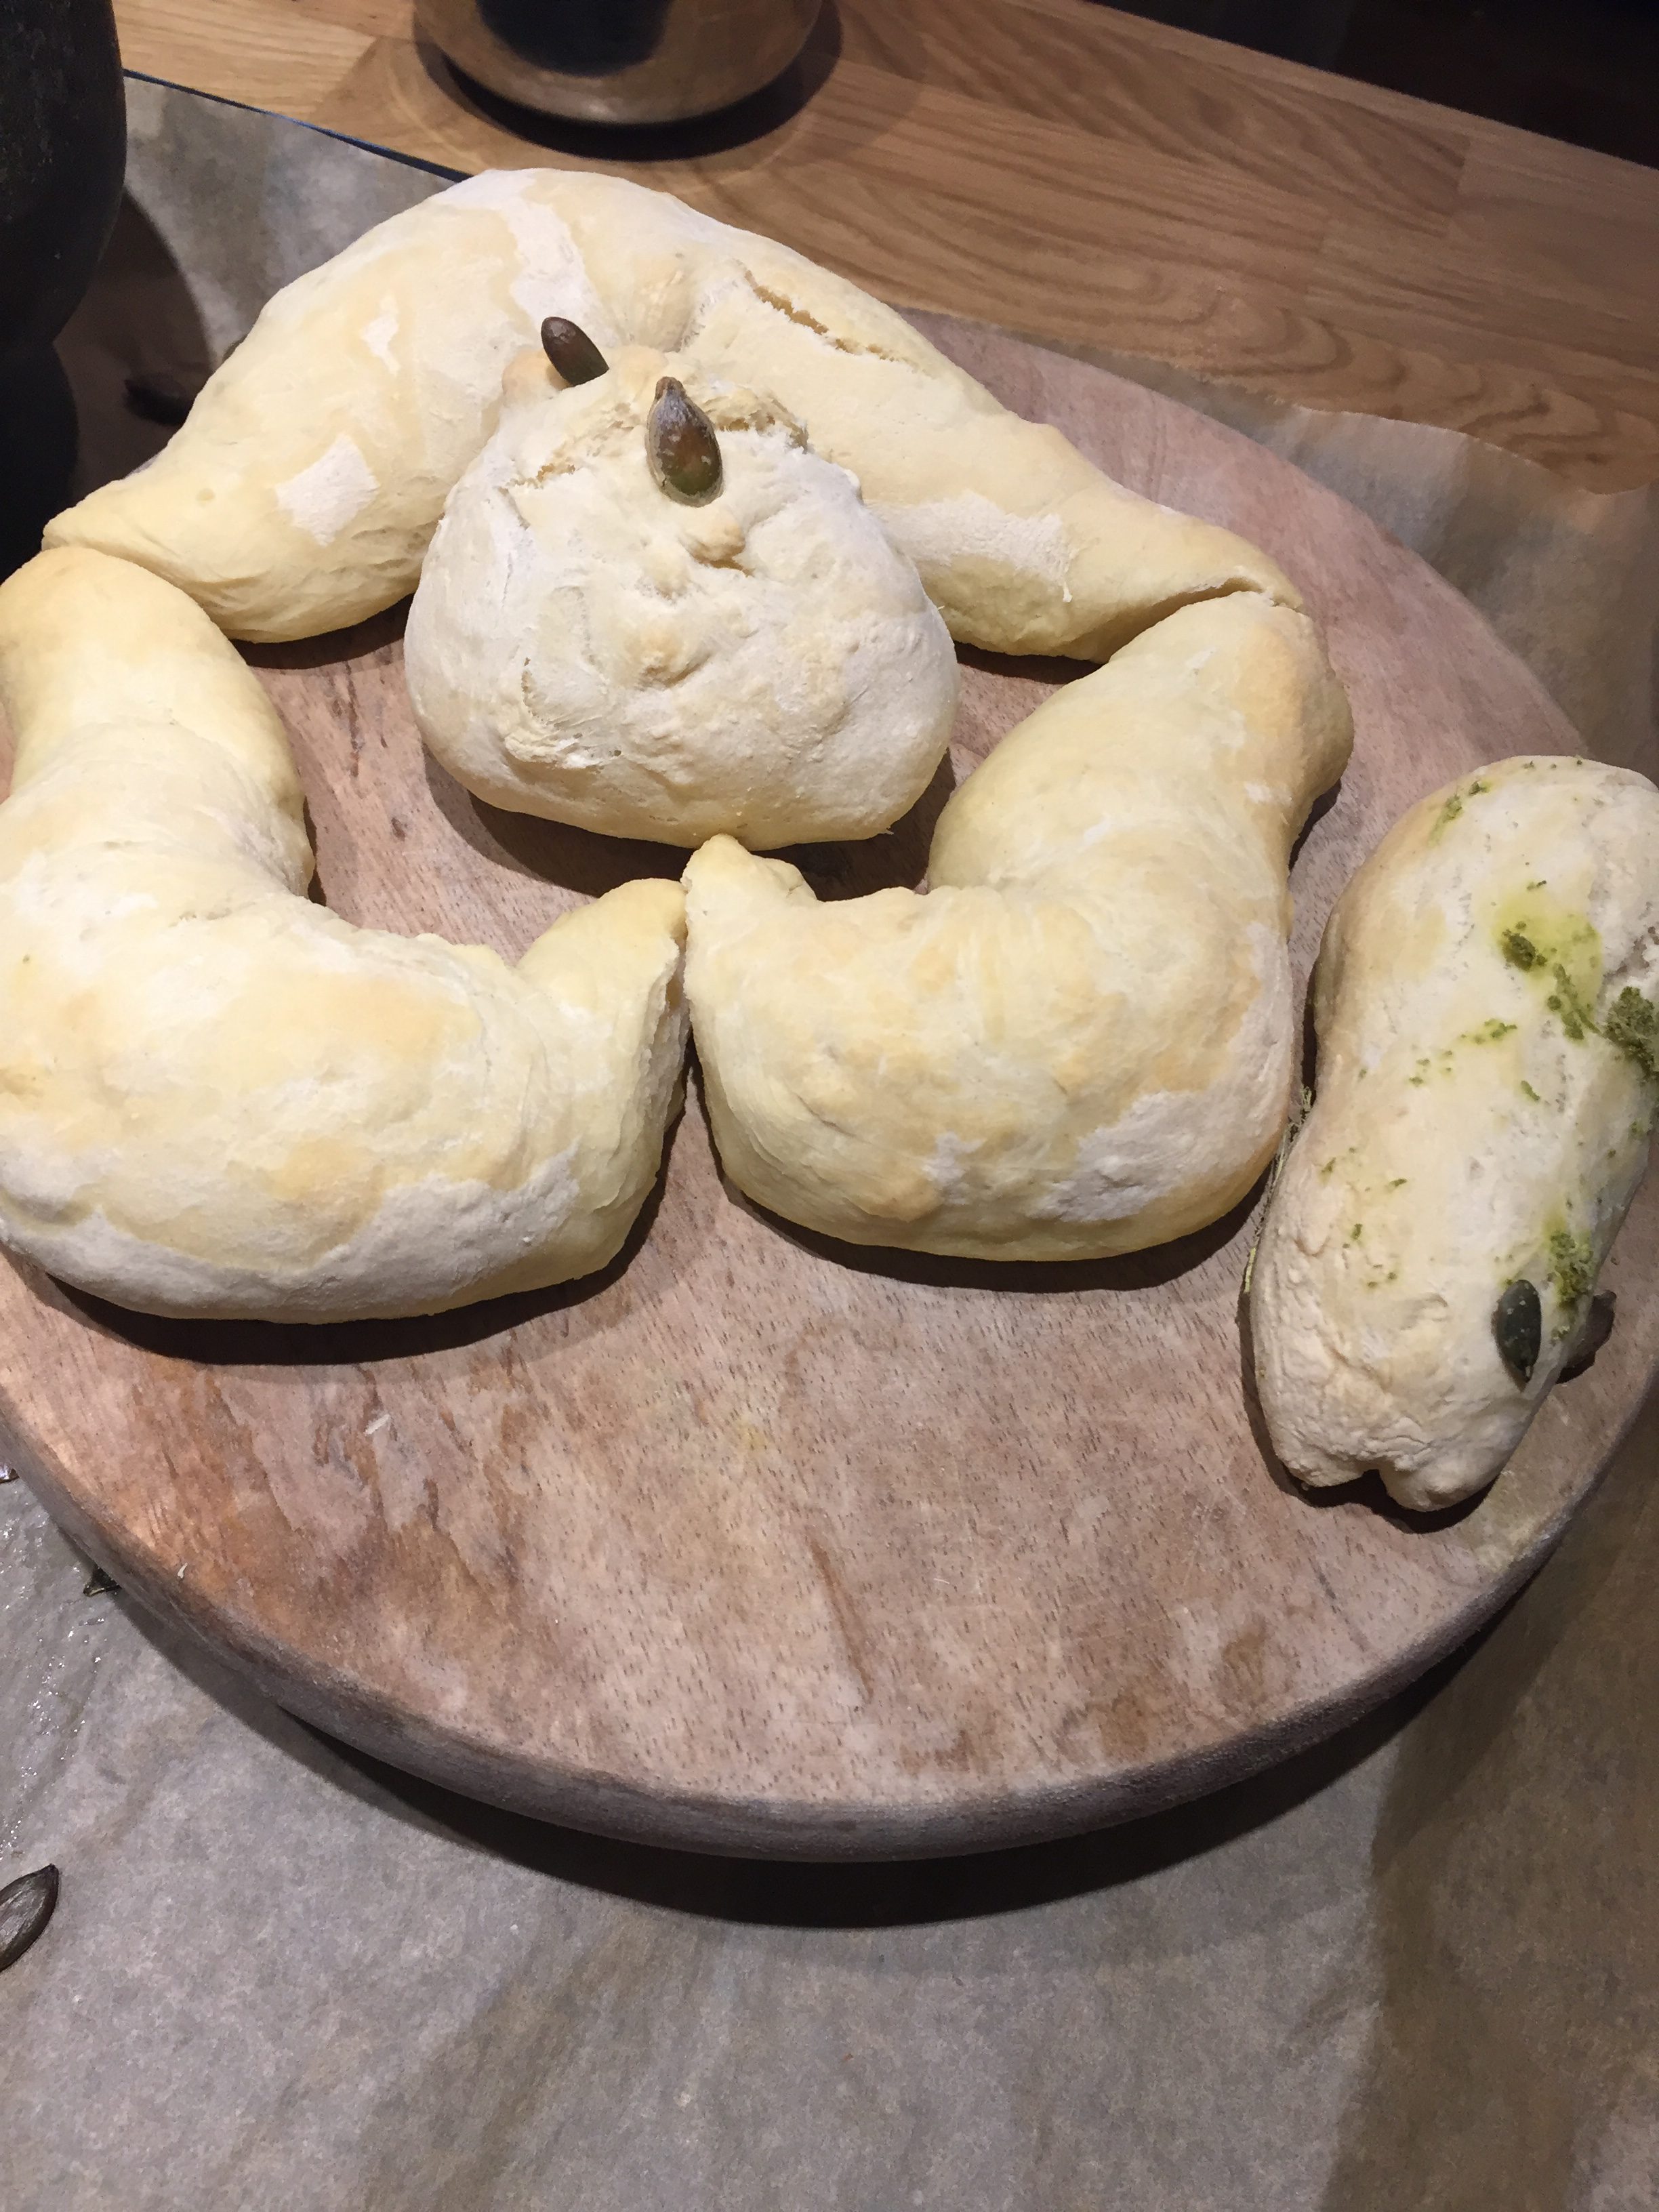
Don’t judge the book by its cover!!!!! This was rather too tastier than it looked!!!!
Do you see it looks a bit undressed!? Well, that is because I decided to give it an olive oil wash (as I am the huge fan of olive oil and addicted to its smell) and so …. the seeds decided not to go well with the bread!
Don’t forget the tips….
- Eggwash=Golden Brown finish
- Milk wash=Matt and Whitish
- Olive oil wash=Seeds won’t stick
Thanks to the lovely Sanna from @WavetoMummy for making it clear why my bread looks soooooo undressed!, and sharing the tips.
We also have the opportunity to get our hands on baking a rosemary salt focaccia and a red onion and walnut (doughnut shaped) loaf. They were to take home and eventually disappeared before we got home as Hubby came to get me from Westfield and the kids accompanied him! Do I have to say anything more about the taste!? or…. may be they were too hungry!?
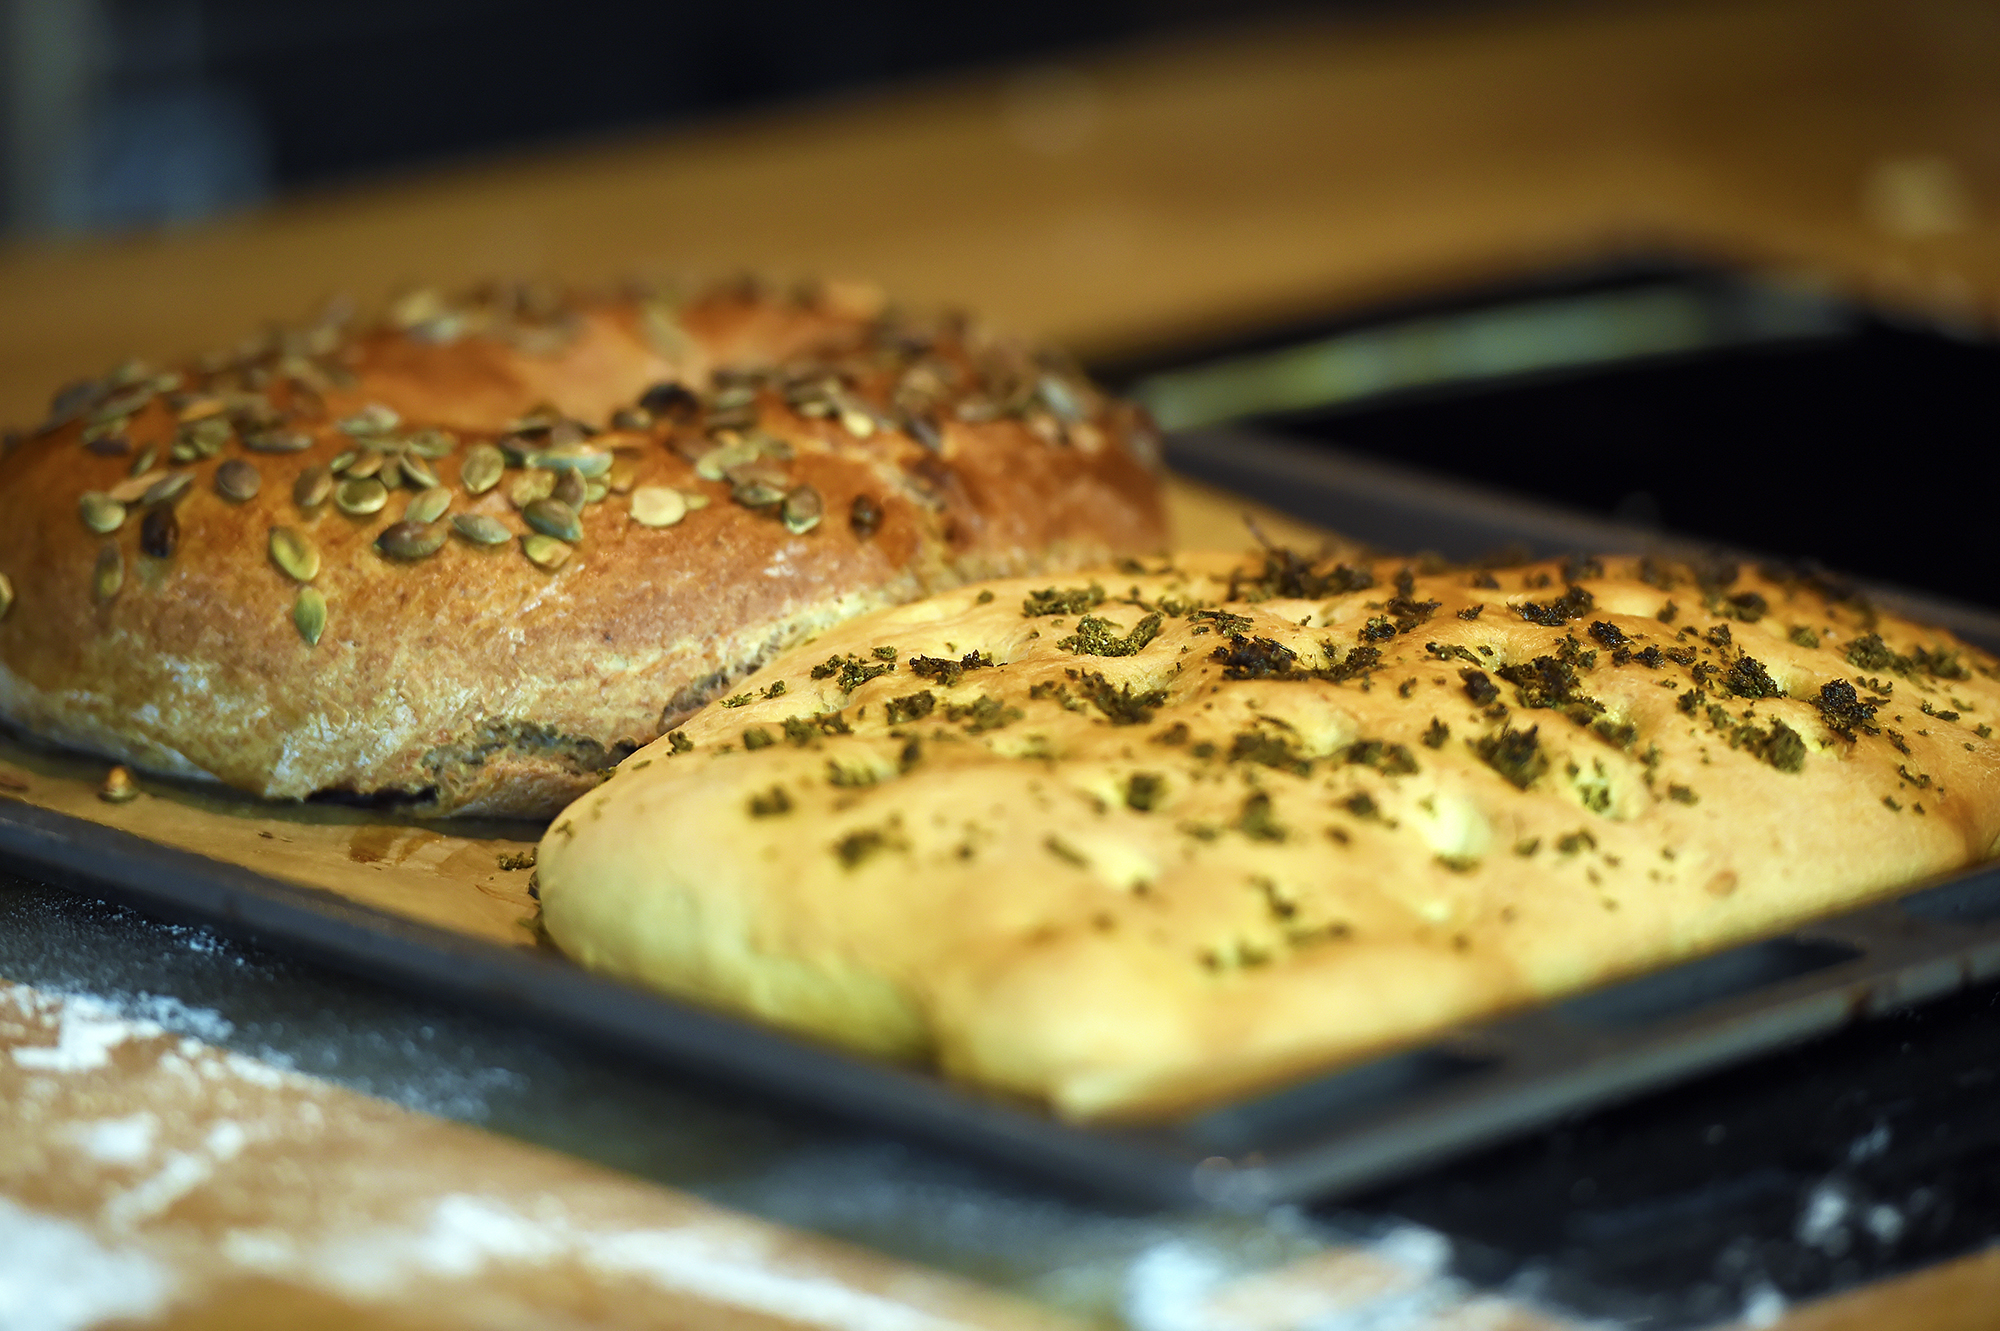
When we finally got to taste the white bread loaf. It was served with the pumpkin soup and cheese fondue! Yummmmm!!!!! and there was Prosecco too… and trust me, I wasn’t too drunk!
The pumpkin soup was delicious and here are some few recipes for you to make use of those Halloween pumpkins! Pumpkin fondue and glorious roasted pumpkin soup recipe!

It was an afternoon well spent (and free from kids!, I think I made less mess than my kids during the baking session) and after all I don’t have to clean up the mess after baking!!!
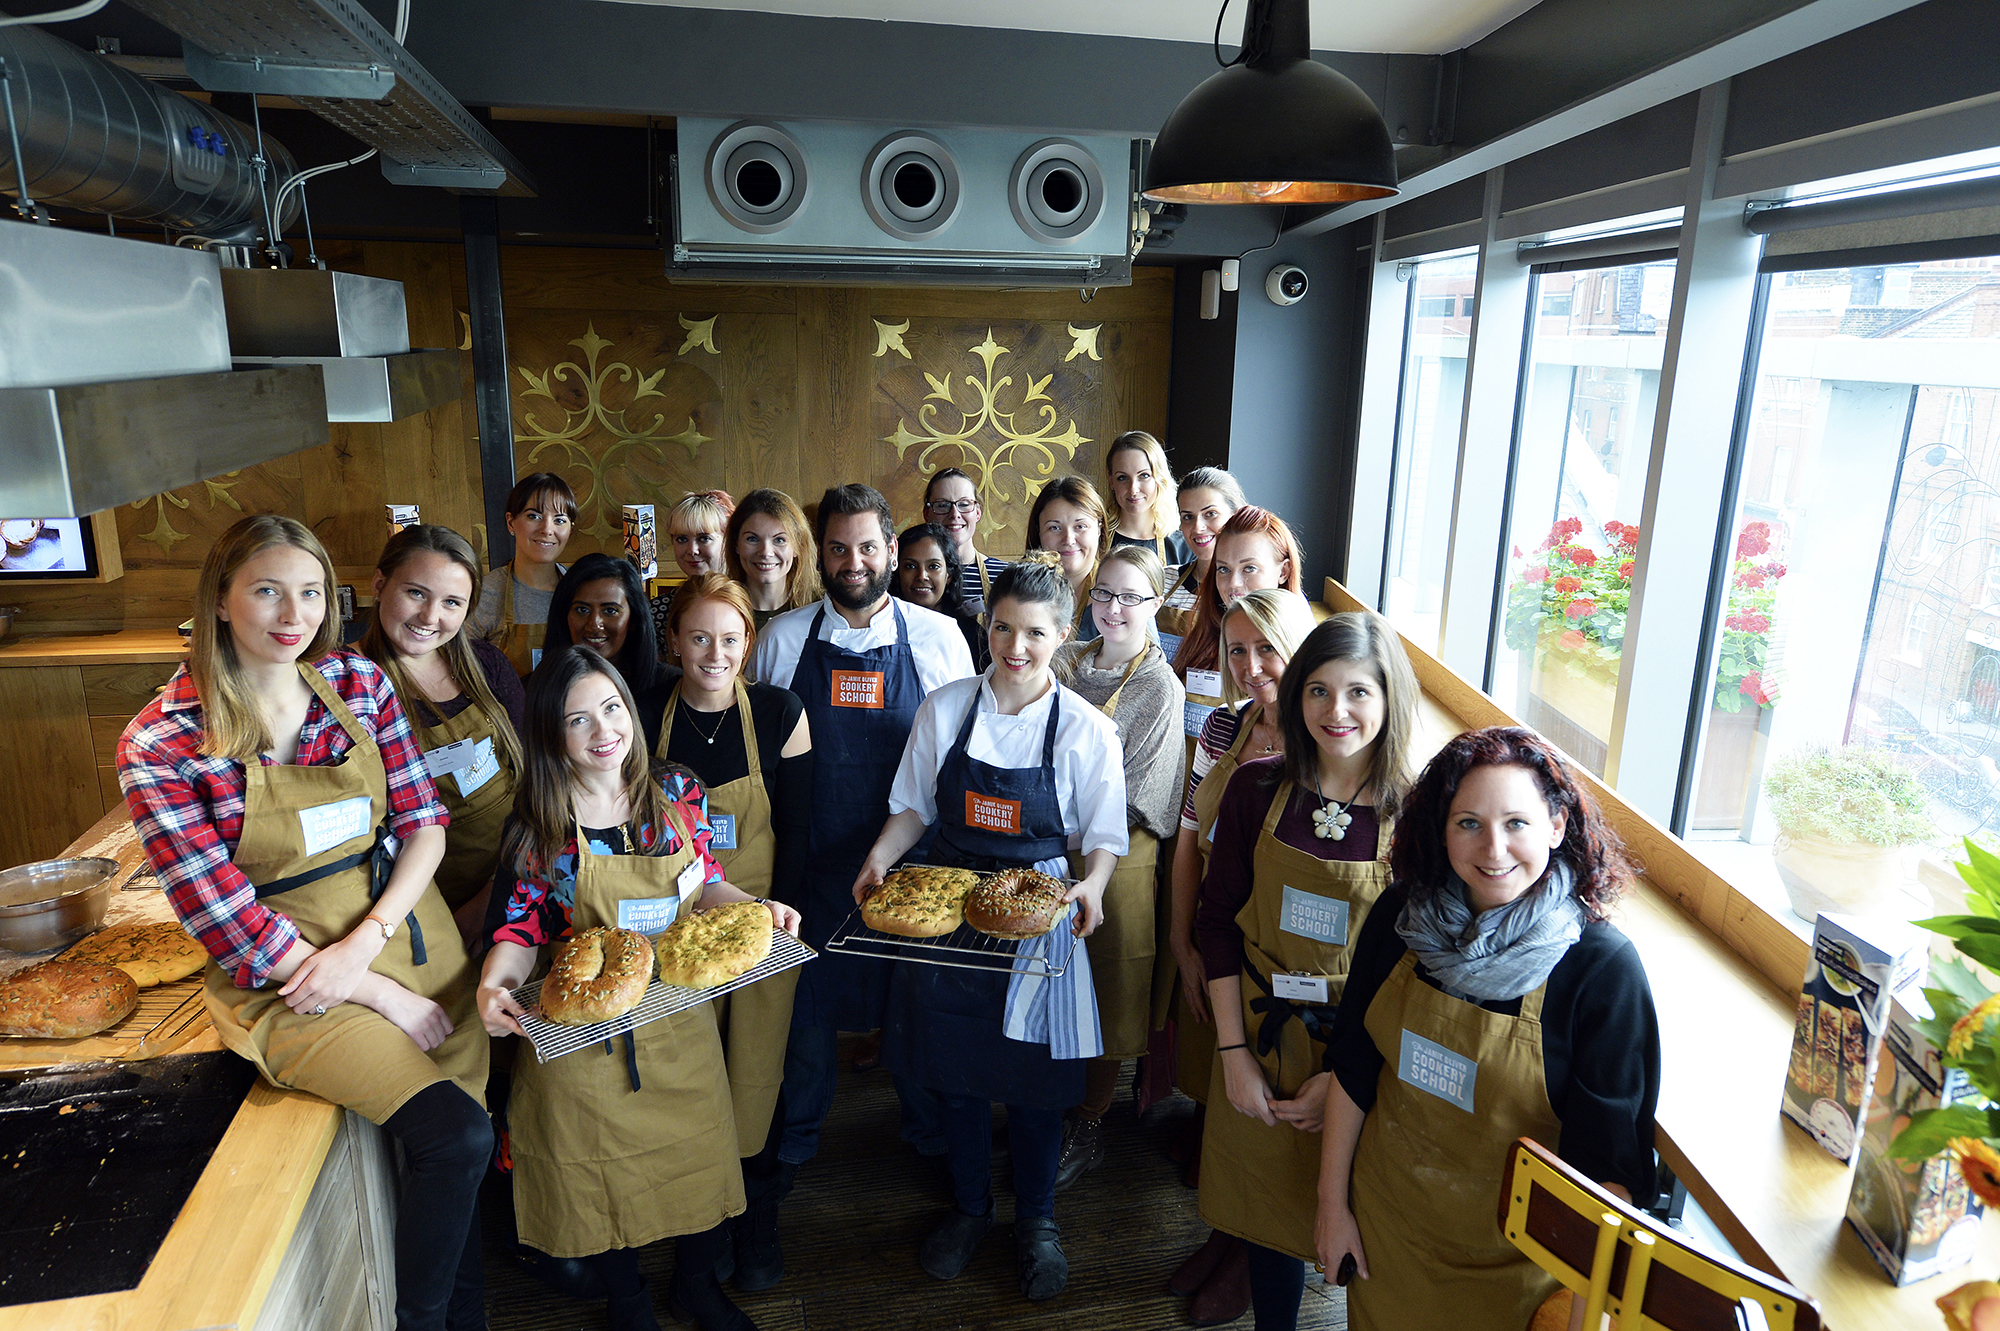
Here is the picture of the lovely joesbloggers who spent the afternoon learning some good tips on bread baking!

Disclaimer: I was invited to attend the bread baking class at Jamie Olivers Cookery school and wasn’t expected to write anything about it. I just thought it would be lovely to share my experience and the tips I learnt at the lesson with you all.
Some of the pictures are shared by JoesBloggers….


