
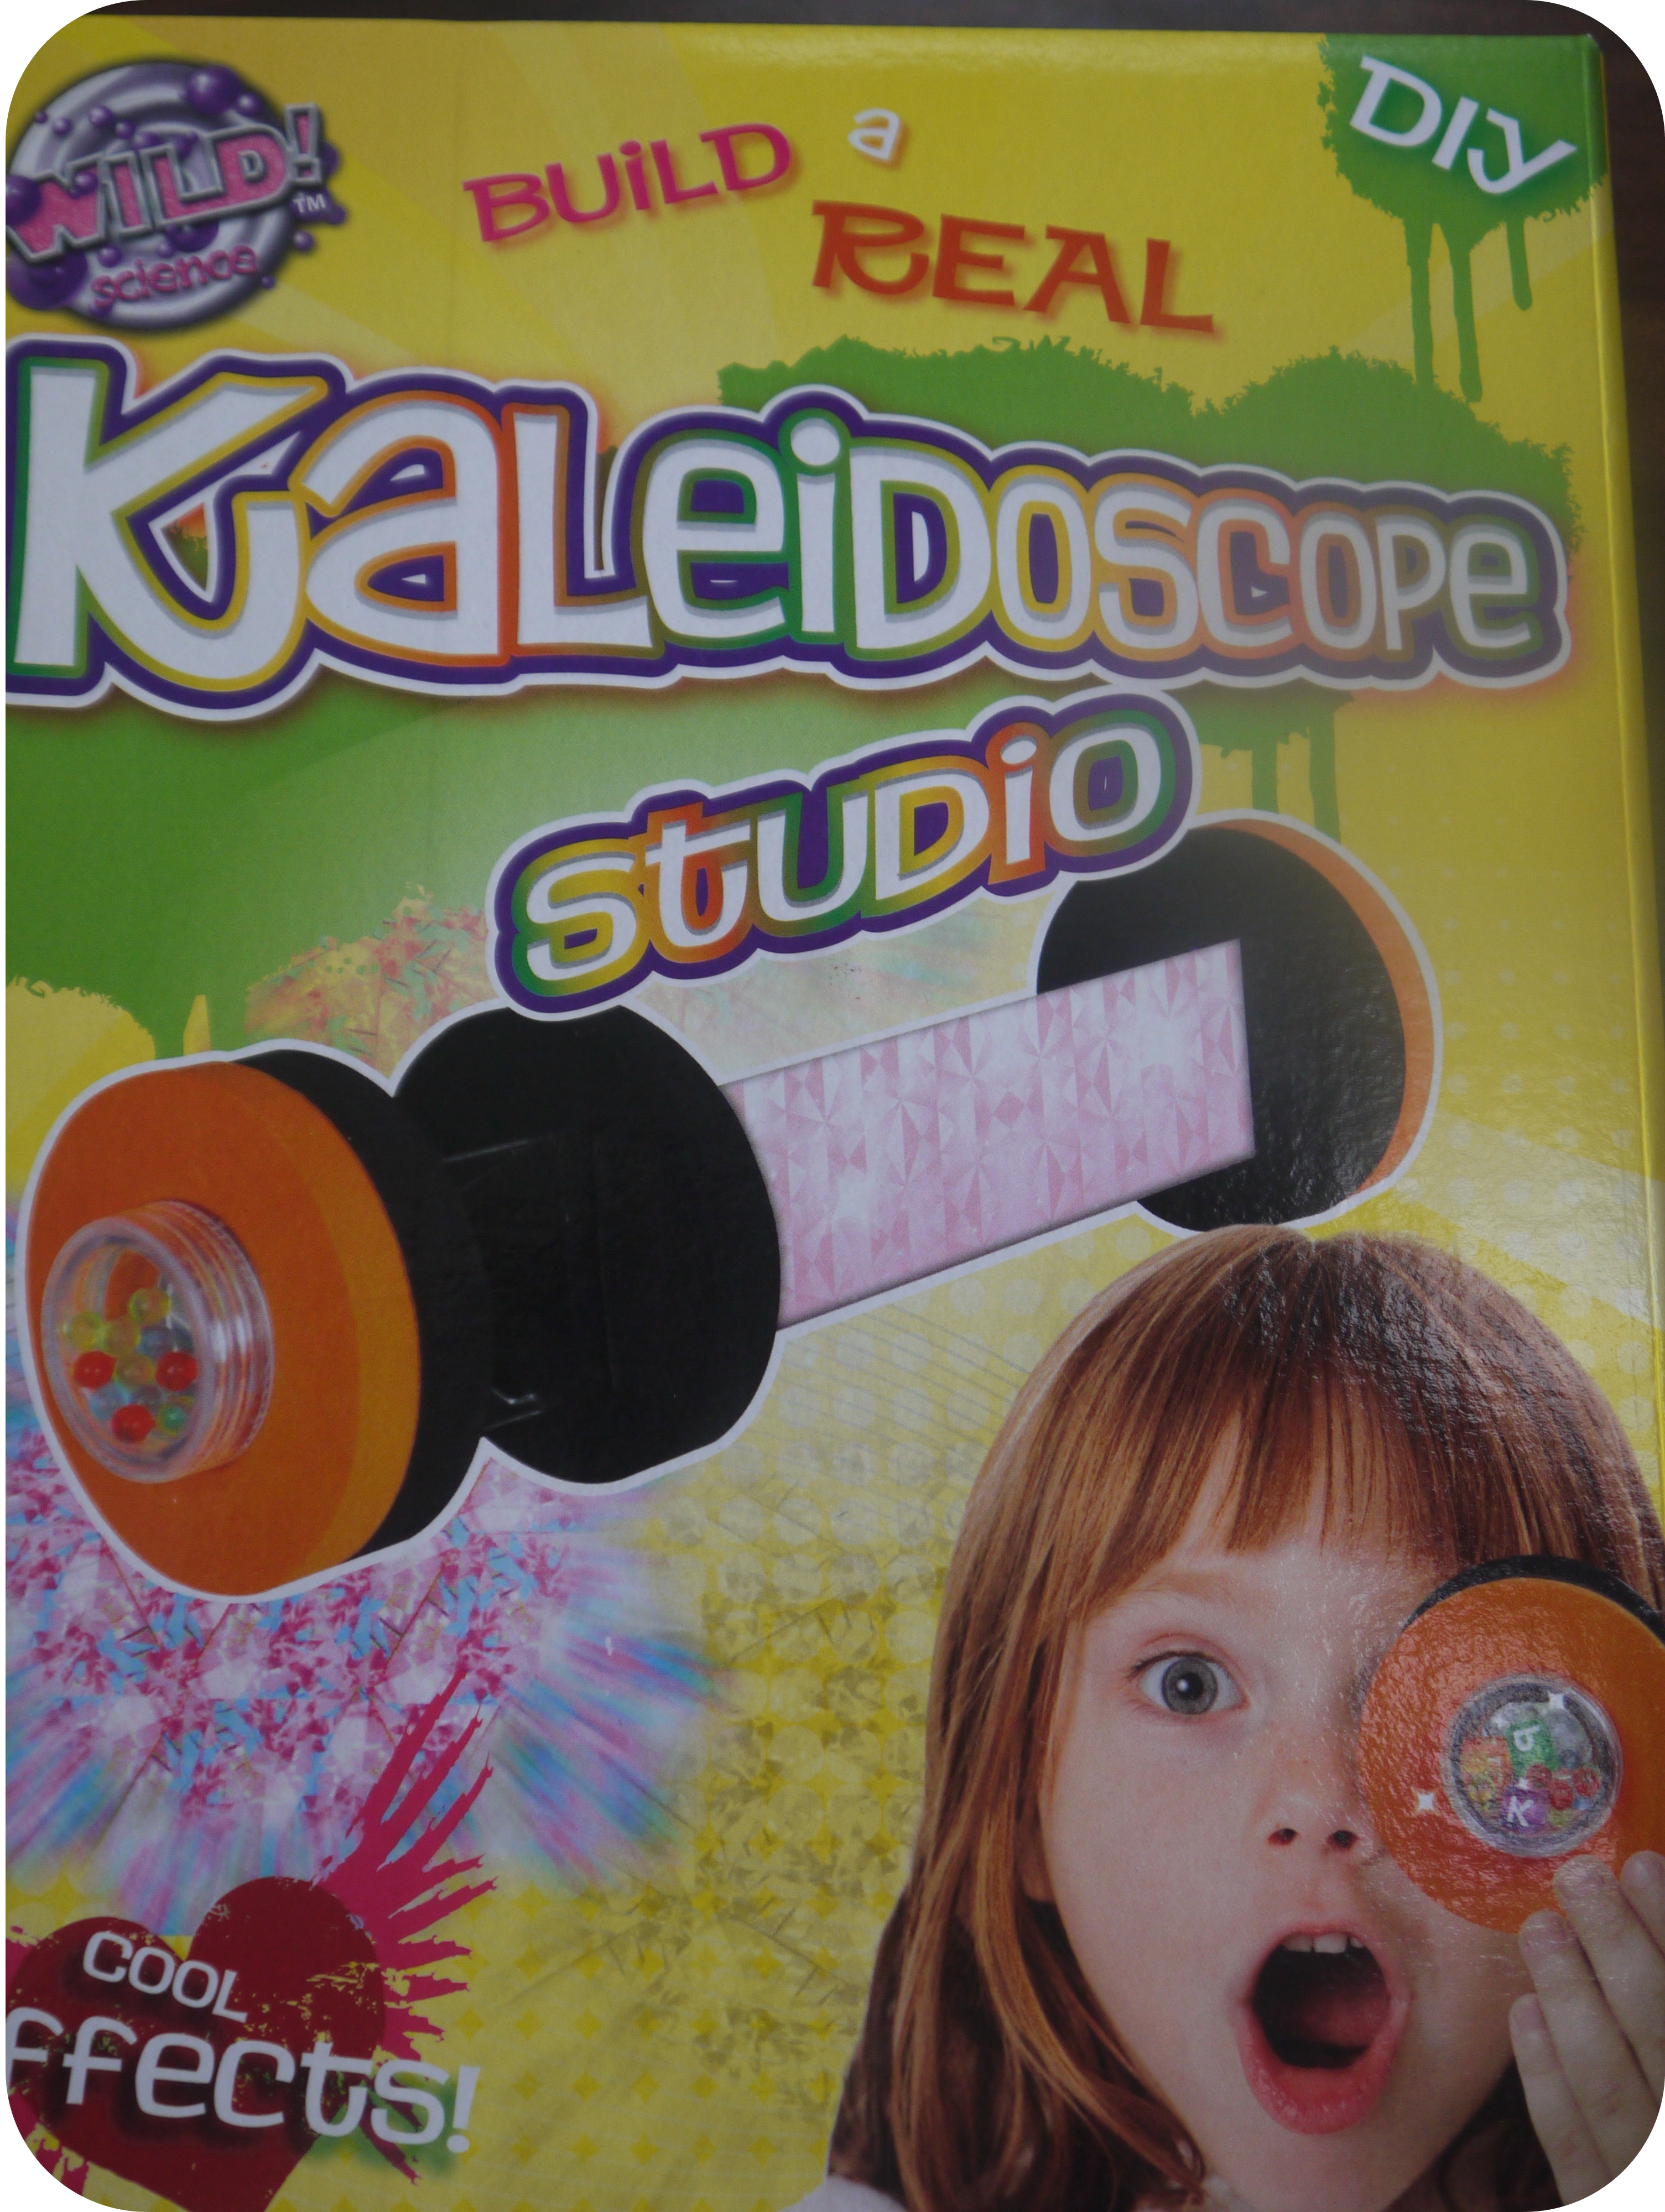
Kaleidoscope – One of my Childhood favourite toys. There are so many days, I have teamed up with my friends to make a perfect (!?) Kaleidoscope but then ended up in a terribly looking tube with loads of treasures (!!!!????.. Well, you know what they are!).
Those good old golden days always bring a smile when I recollect them. However, I did feel frustrated and ashamed one day when I have received an E-Mail from asking, if I would be interested in reviewing their Wild Science Kaleidoscope studio with DD1. Oh dear! Why it didn’t strike me so many years that, I could share those treasured moments with DDs and try to bring them back!?. Thinking so, It took no time for me to respond saying I have a great interest to review the Kaleidoscope Studio.
 To make a perfect Kaleidoscope, you need super duper optical mirrors (Maybe, that’s what we missed in our childhood days, we fancied those broken glasses though
  ). The Kaleidoscope Studio kit includes everything you need to make an amazing Kaleidoscope.
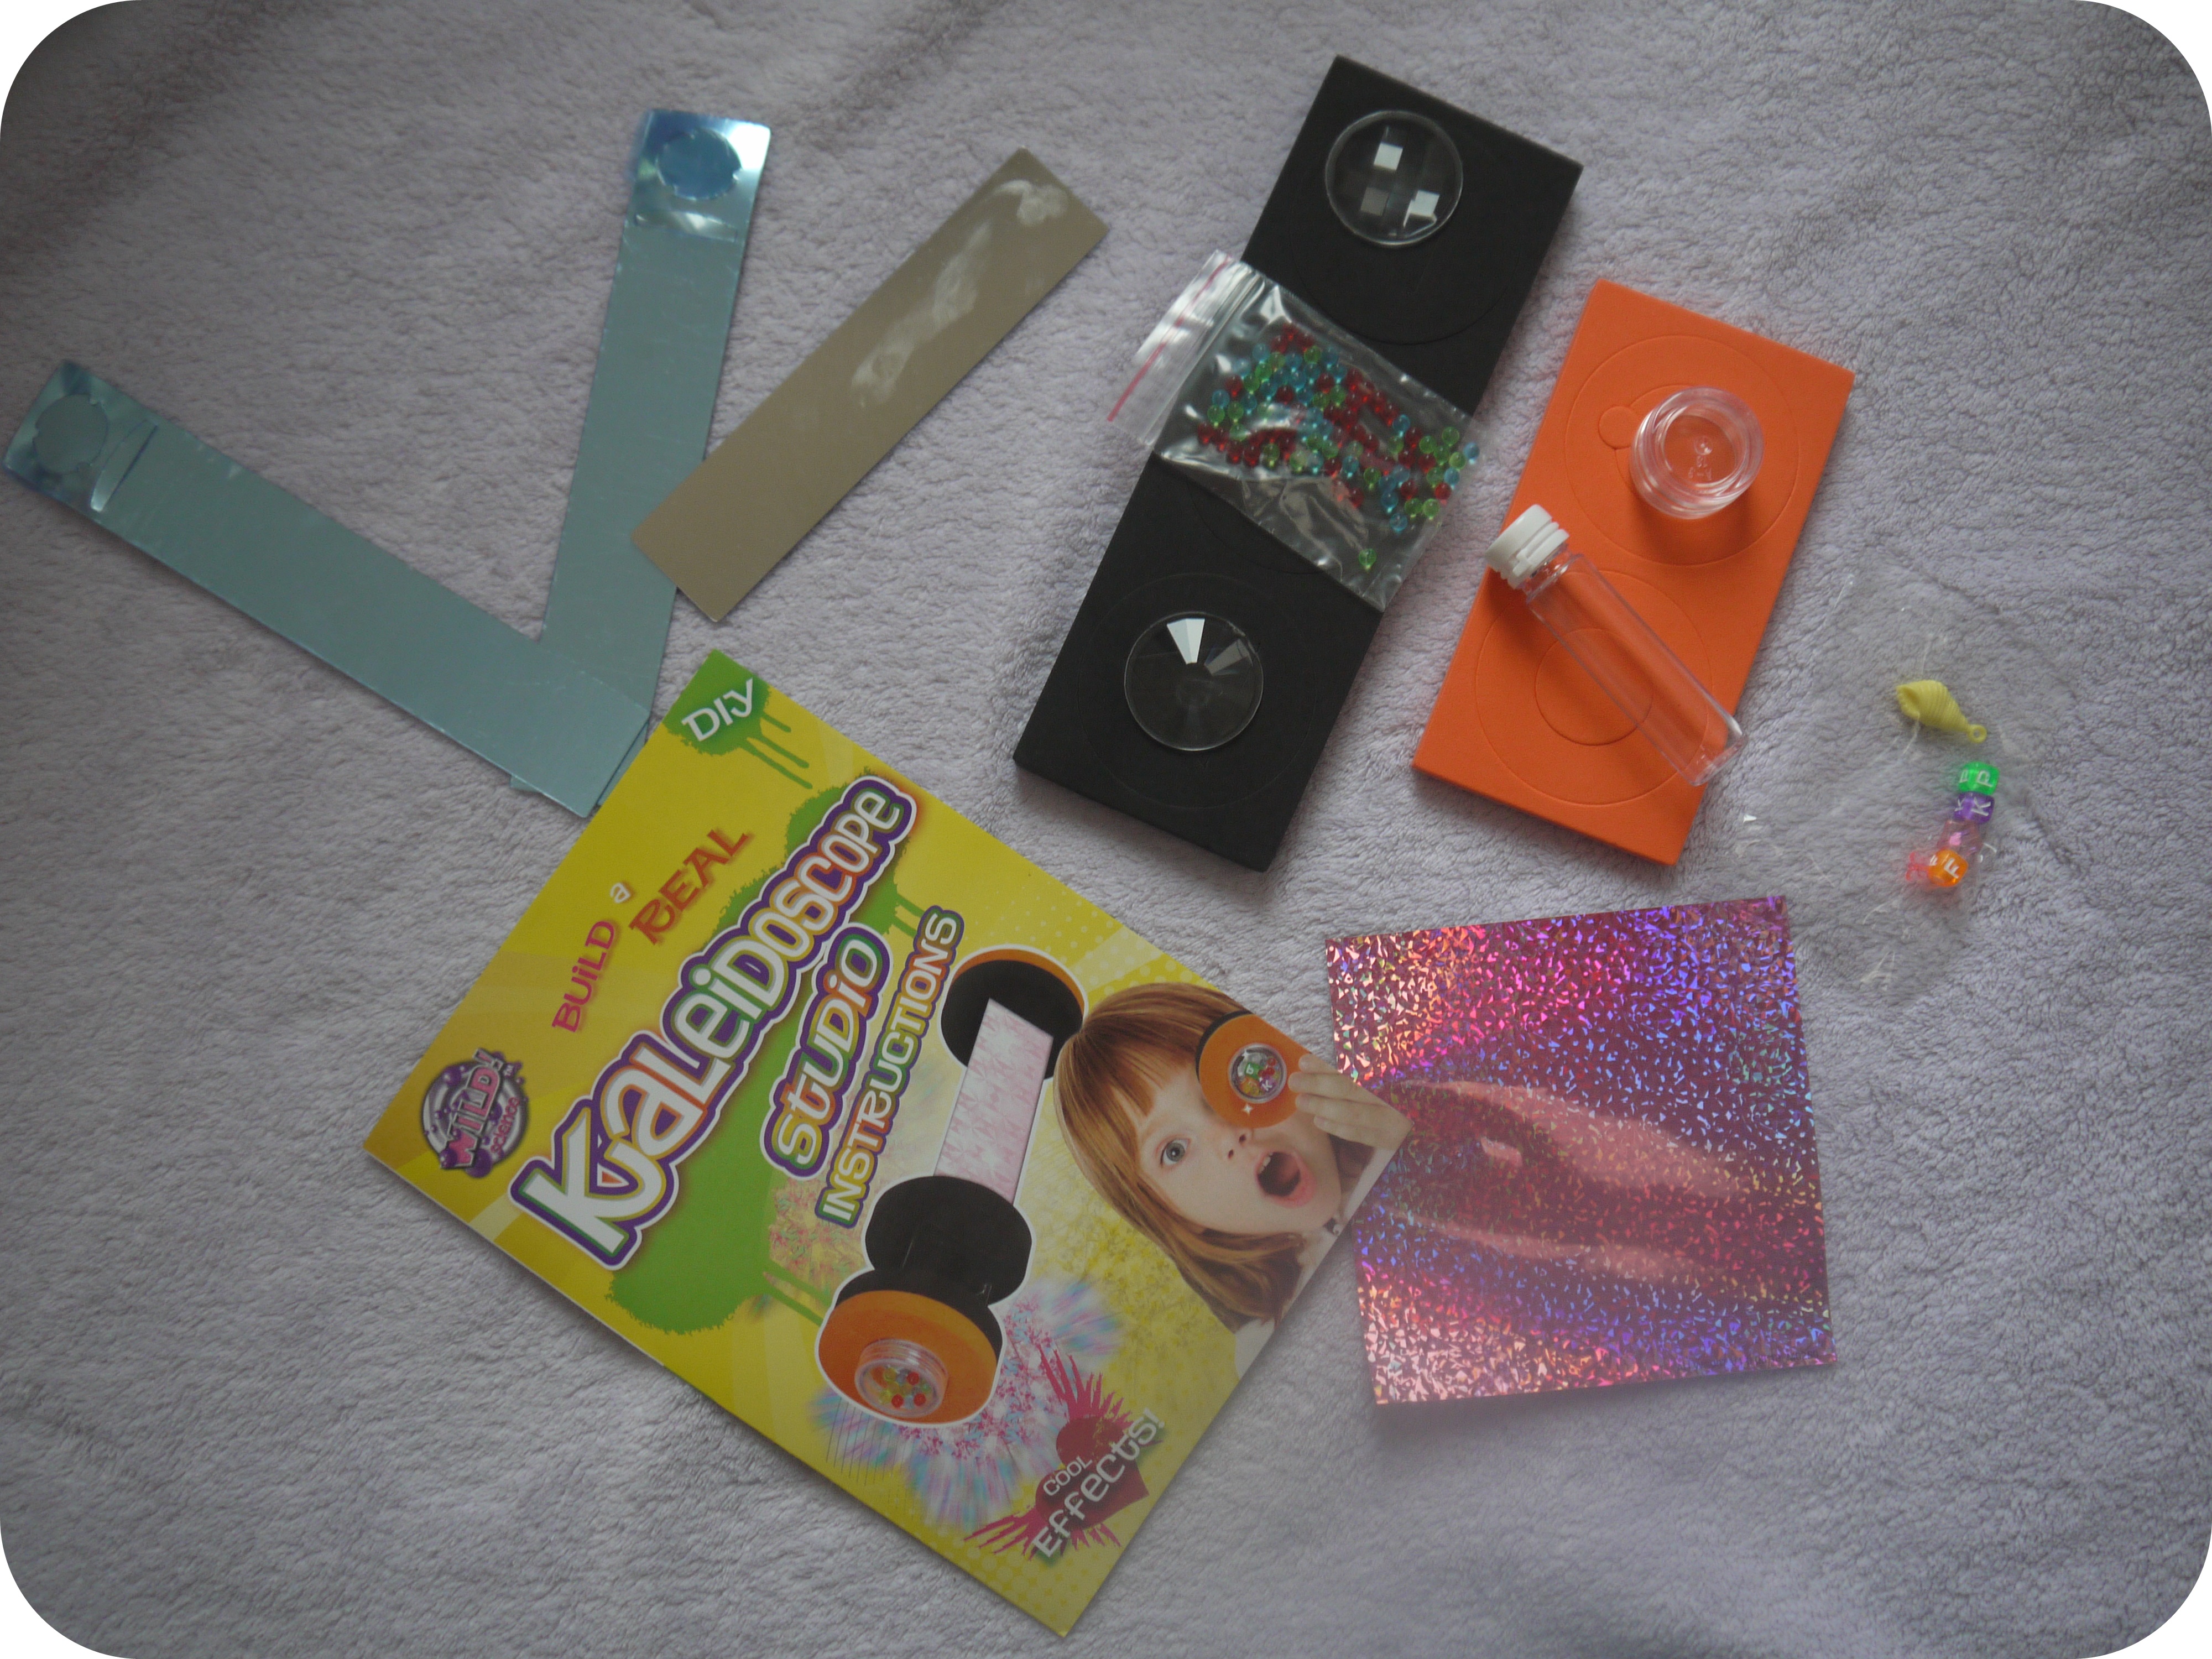
What’s in the Kit:
- 3 Rectangular Mirrors
- EVA Foam Sticks with cut out shapes
- Sticker – to decorate the outside part of your Kaleidoscope.
- Lenses
- Jewel collection.
- Jewel tube
- Transparent jar
- Full coloured instruction leaflet – Mummy’s favourite.
 The step by step instruction leaflet clearly and percisely explains all the steps you need to make a perfect Kaleidoscope. Infact while I was finding it hard to find the perfect side of the mirror, DD1 found it super cool and easy and instructed me. I think I enjoyed making the Kaleidoscope than her :). And here is our finished Kaleidoscope.
 When you should go for a rescue (so the Kaleidoscope doesn’t get damaged)
- Getting the third mirror into the slot (in cut (foam) shapes) was quite difficult for DD1. I saw her sturggling and although the edges of the mirrors are not that sharp to hurt her, I went to the rescue and was happy to give a hand.
- Getting the lens into the slot was although gets easier by practise, the first time was quite hard and I had to help and teach her a bit.
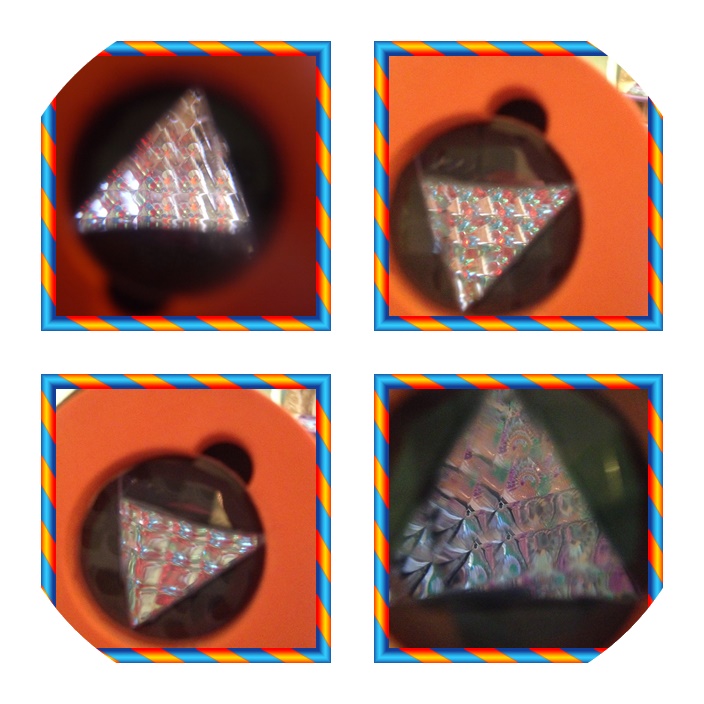
Other than these two steps, everything was very simple and easy and the Kaleidoscope was finished within an hour. Well, An hour well spent and finally after quite a long time, a Mummy’s wish came true :). We used the Jewel collections and few more crystals we had at home to try out. Here are some of our lovely views… (although I couldn’t get a perfect click on the camera – Need to practise more… or is it time to upgrade my Panasonic G10!?
 Kaleidoscope studio is available to buy from interplay at an average price of £12.99. I honestly thought it could have been around £9.99 which I feel could be the best price to buy. You might be able to grab some deal towards christmas and it would make a Perfect Christmas present. Why not try looking at the colourful Christmas decorations through the kaleidoscope and have fun!?
Disclaimer: I was sent this product free of charge in return for our honest thoughts towards the product. All the opinions shared here are my own.
Related Posts:
 Something to remind you of Pinocchio -Spin Master…
 Review: Birthday Party?! Bored of searching for the…
 #NikonSchool Photography – Part 1 –…
 Toys for Christmas – The toys that hit the Top…
- Review: Interplay Treasure Box party kit
 They are back! You don’t need a time machine…
 Mummy and the Cuties had their Brunch with Weetabix
 Review: Wild Science Perfume Factory
 What do we miss being a Nuclear family these days!?
 Enjoy Christmas with Leapfrog – Toys for all Ages


")


